Ultrasonic Record Cleaning: A Practical Beginner’s Guide
Introduction
If you are new to record care, ultrasonic cleaning can look more complicated than it really is. Once you break the process into clear stages, it becomes much easier to understand and repeat with confidence.
Before beginning, make sure you know how to handle a record safely, because wet hands, exposed grooves and unfamiliar equipment can increase the risk of accidental damage.
If you are curious about ultrasonic record cleaning, this guide walks through a practical routine that beginners can understand and repeat with confidence.
In this guide, I will focus mainly on ultrasonic record cleaning because that is the method I use myself and can talk about from direct experience. I will also mention vacuum-based record cleaning systems, but only briefly and in context.
The most important point is this: not every liquid bath is the same. A simple distilled-water bath is one approach. A bath that includes detergents, surfactants (ingredients that help liquid spread more evenly across the record surface) or isopropyl alcohol (IPA) is another. Those choices affect what you should do after the wash, especially whether a rinse step is sensible.
Cleaning is only one part of the treatment plan: once the record is completely dry, correct vinyl storage helps protect the result and reduces the need for repeated washing.
Why it helps to separate the two bath types
Not every wet-cleaning routine works in the same way. In practice, it helps to separate two common scenarios: a simple bath based mainly on distilled water, and a more active bath that includes cleaning agents such as detergents, surfactants or isopropyl alcohol.
The difference is not only about what is in the tank. It also changes what should happen after the cleaning cycle. A simple bath may be easier to manage and may leave less to worry about afterwards. A stronger formula may help with older, greasier or more stubborn contamination, but it usually makes the rinse stage more important.
For beginners, the goal is not to chase a perfect formula. The goal is to understand what is going onto the record and what should happen afterwards.
When a simple distilled-water bath may be enough
For many records, especially those with light dust or moderate surface contamination, a simple bath can be a sensible starting point. That might mean distilled water on its own, or distilled water with a very restrained additive that does not leave obvious residue and does not require rinsing in your established routine.
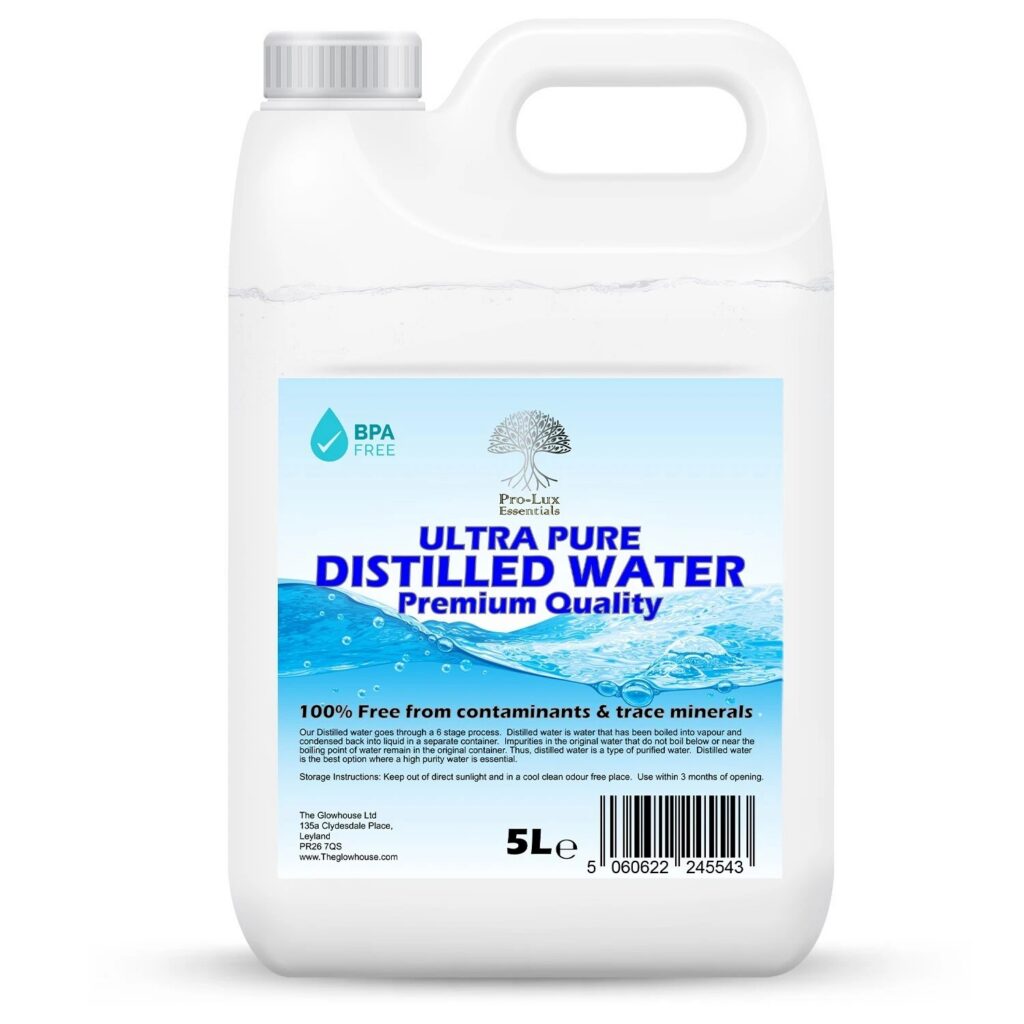
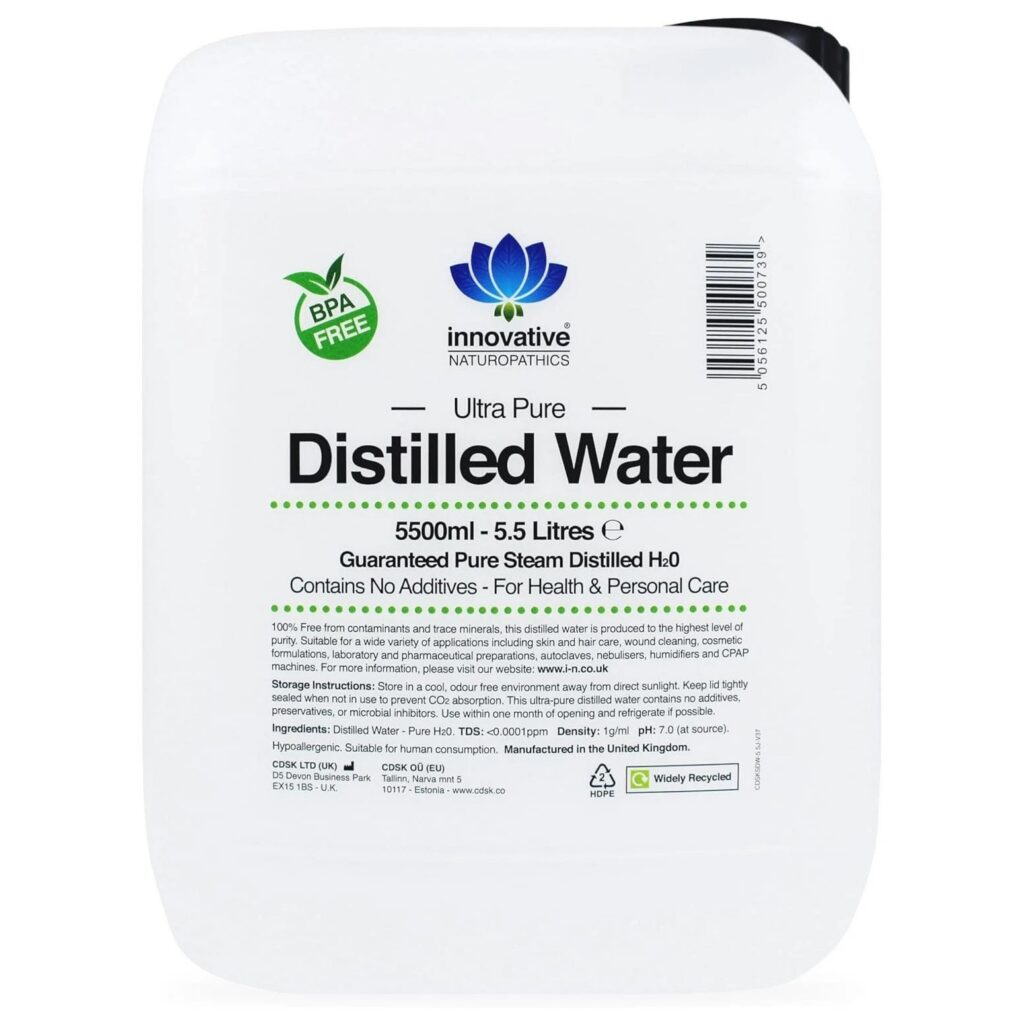
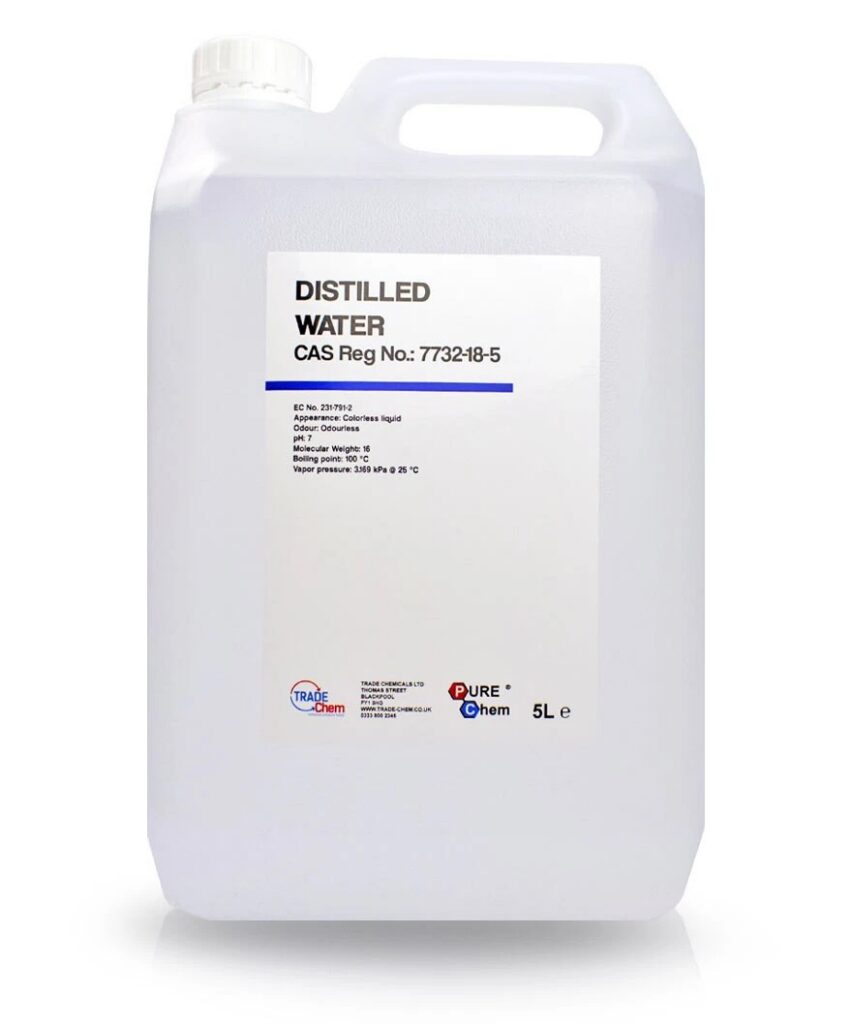
These are three distilled water products I have used in my own record-cleaning routine. I prefer distilled water and do not recommend de-ionised water for this process.
The main benefit of this approach is control. The formula stays simple, the risk of residue is lower, and the whole process is easier to repeat consistently.
That approach often makes sense when you are dealing with light dust, mild surface contamination, or a record that mainly needs careful maintenance rather than a heavier rescue clean.
Before placing a lightly contaminated record in the bath, remove loose surface dust with a carbon-fibre record brush so that less debris enters the cleaning solution.
If the record only has fingerprints or mild surface marks, lightly damp record cleaning may be enough, without progressing immediately to a full machine wash.
Signs that a simple bath may suit the record
- The record has light dust, lint or mild surface marks rather than heavy grime.
- You want to avoid introducing too many chemicals into the process.
- You want a cleaning routine that feels predictable and easy to repeat.
- You are using an ultrasonic machine mainly as a careful maintenance tool rather than a rescue treatment for very dirty records.
When active cleaning solutions come into play
There are times when distilled water alone may not be enough. Some records carry older deposits, greasy fingerprints, smoke-related film, residue from previous cleaning products, or contamination that clings more stubbornly to the surface.
In those cases, some users choose a more active bath. This can include detergents, surfactants or isopropyl alcohol. The key point is that, once you move into that kind of formula, the process should not be treated as wash and done.
In many cases, a proper rinse becomes the next logical step.
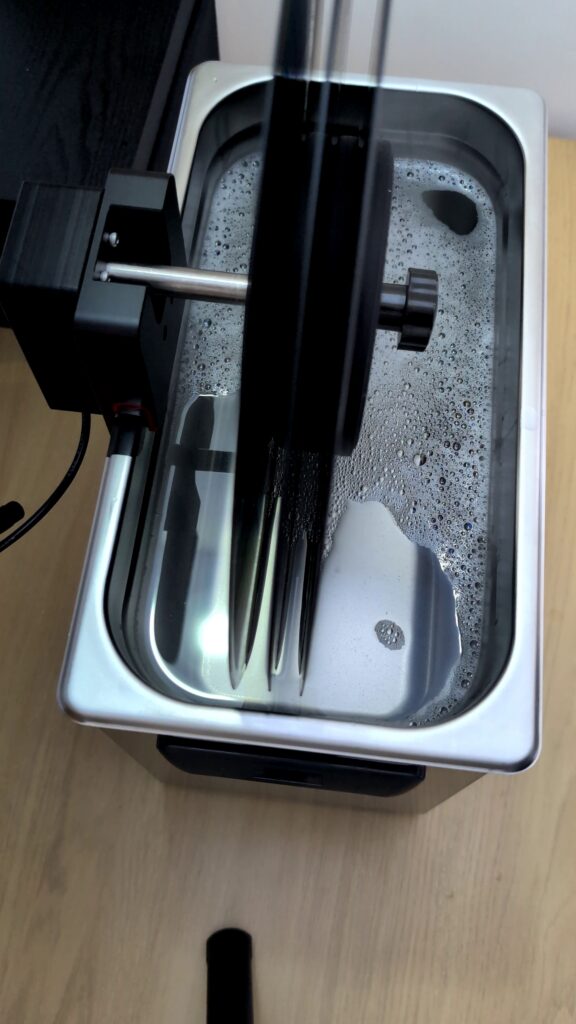
Why rinsing starts to matter
- It may help remove traces left behind by the cleaning mix.
- It may reduce the chance of dried residue remaining on the surface or in the grooves.
- It may make the result more consistent from one record to the next.
- It is especially worth considering after stronger or more complex fluid mixes.
How an ultrasonic record cleaning machine works, in simple terms
An ultrasonic machine uses energy transmitted through liquid to help loosen contamination from the record surface. Without getting lost in technical language, the important idea is that the liquid is not just sitting around the record. It becomes an active part of the cleaning process.
That is why bath composition matters so much. The machine does not work in isolation. The final result depends on the combination of fluid choice, cycle length, controlled temperature, the real condition of the record, and what you do afterwards.
A more detailed explanation of how ultrasonic cleaning works is available from Best Technology.
Why I like ultrasonic cleaning
- It is consistent and easy to repeat once your routine is settled.
- It does not rely on aggressive rubbing across the playing surface.
- It can work well for ongoing maintenance and for second-hand records that need a more thorough first clean.
- It lends itself to a clear process: bath, optional rinse, drying, then a clean inner sleeve.
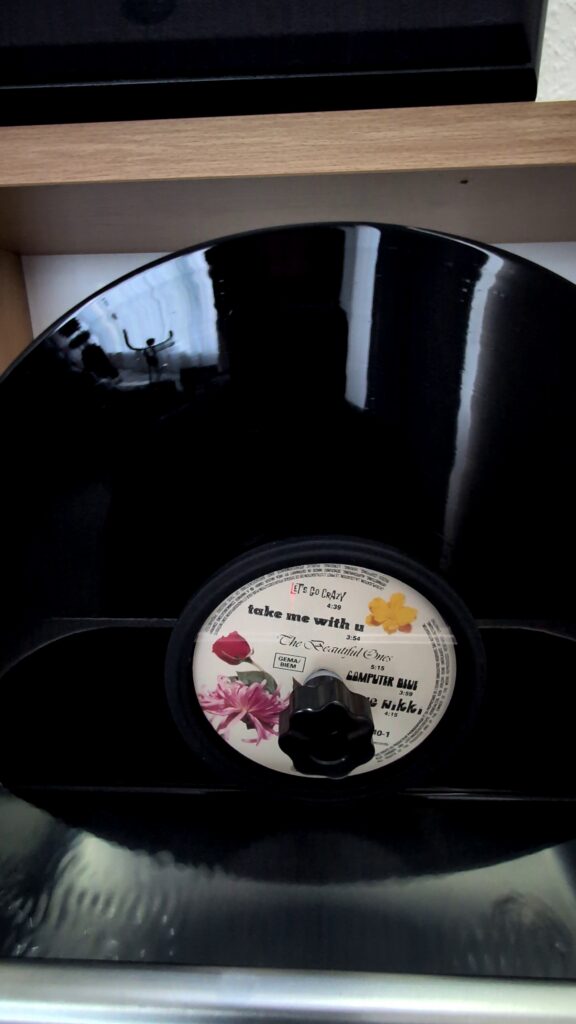
How I would use a simple bath in an ultrasonic machine
If I choose the simpler route, I treat it as a careful maintenance routine rather than a chemistry experiment. The aim is to keep the process controlled, clean and repeatable. Step-by-step:
- Inspect the record visually. If there is loose dust or lint, remove it gently before the wash.
- Prepare the bath with distilled water, or with your simple tried-and-tested formula if you already use one that does not require rinsing.
- Run the cleaning cycle without rushing it.
- Remove the record carefully and place it upright on a dedicated drying rack.
- Once fully dry, move it into a clean inner sleeve.
This short video shows how I assemble the three-record spindle, prepare the 6-litre bath and begin the ultrasonic cleaning cycle.
How I would handle a more active bath
If the bath contains stronger cleaning ingredients, I see the process as having two distinct stages: wash first, rinse afterwards.
That does not mean every record needs the same formula. It means that, once you use a more active mix, you should think ahead about residue control. Step-by-step:
- Prepare the bath carefully and keep your formula consistent.
- Run the ultrasonic cleaning cycle as normal.
- Remove the record and carry out a separate rinse stage using clean distilled water.
- Place the record on a drying rack in a clean area.
- Only return it to an inner sleeve once it is fully dry.
Cleaning is only one part of long-term record care. Careful handling and suitable storage also help preserve a collection, as explained in the Library of Congress guidance on the care, handling and storage of recorded materials.
Drying after ultrasonic cleaning
Drying deserves more attention than it sometimes gets. Even a good wash can be undermined if the record is handled carelessly straight afterwards.
In practical terms, I would keep the drying stage simple. Place the record vertically on a clean drying rack and allow it to air dry in a tidy, low-dust area.
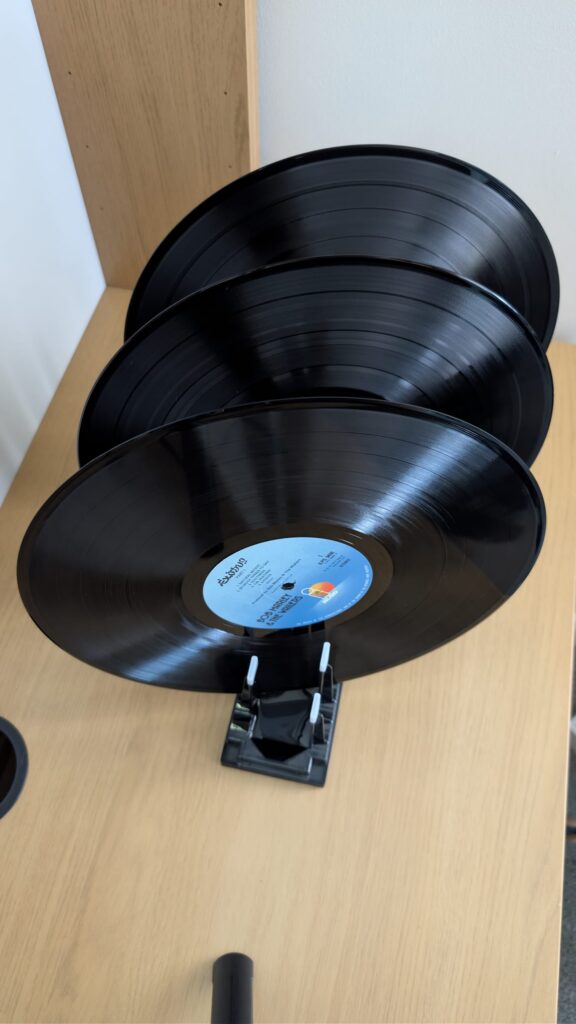
I would not use a blower here. In my view, blowing air across the surface can move dust around and, if done poorly, may push a particle into the grooves rather than solve the problem.
The key point is that a drying rack is exactly that: a support for safe air drying. It is not a machine-based drying method in its own right.
Where vacuum-based record cleaning systems fit in
Vacuum-based record cleaning systems have many loyal supporters, and for understandable reasons. They let you apply fluid in a controlled way, work the fluid across the surface, and then extract the dirty liquid from the record.
That extraction stage is a major reason why many collectors trust the method. It can reduce drying time and give the user a strong sense of control over the process.
That said, this article is not centred on vacuum cleaning because I do not own that type of machine and do not want to overstate first-hand experience I do not have. For this post, I am focusing on the method I use myself: ultrasonic cleaning.
A fair summary is that vacuum cleaning and ultrasonic cleaning approach the problem differently. Vacuum systems are often valued for control and fluid extraction. Ultrasonic machines are often valued for thorough liquid-assisted cleaning with minimal direct surface contact. Neither should be presented as a universal winner in every case.
Common mistakes to avoid
- Using a strong bath formula without thinking about the rinse stage.
- Changing several variables at once, which makes it harder to judge what is actually working.
- Putting a clean record back into an old or dirty inner sleeve.
- Handling the disc before it has fully dried.
- Assuming that a more aggressive mix must always give a better result.
My practical conclusion
For most beginners, the best starting point is not the most complicated formula. It is a process you can understand and repeat with confidence.
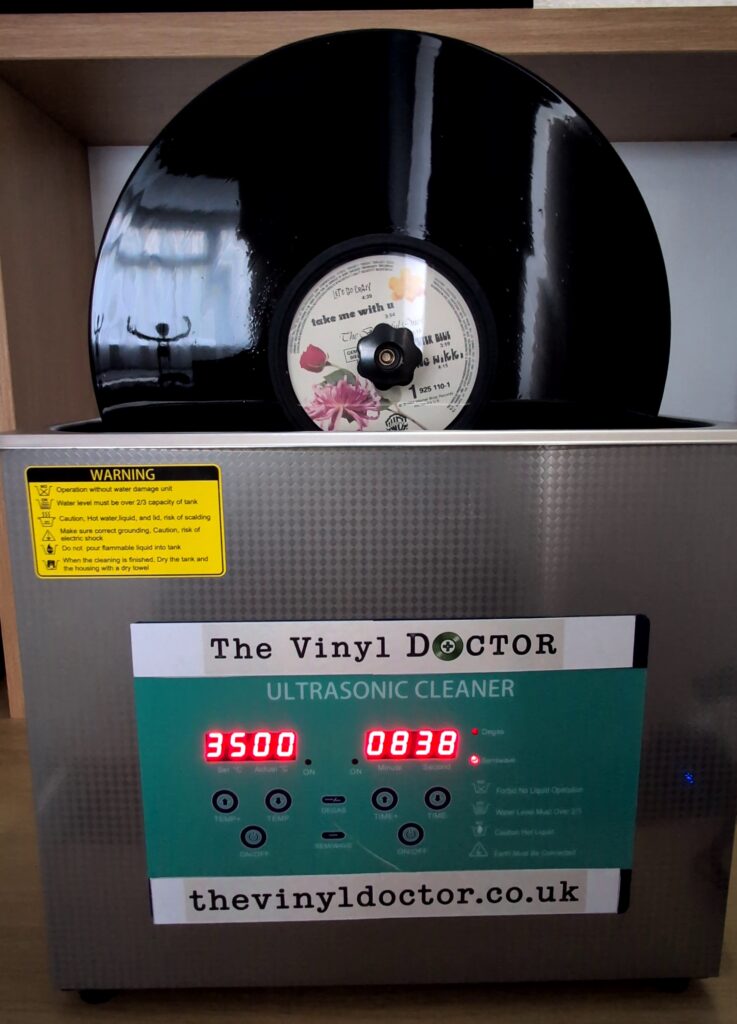
If you use an ultrasonic machine, start with a clean routine. Know whether your bath is a simple distilled-water approach or a more active formula. If you use active ingredients, think seriously about rinsing. Dry the record carefully on a proper rack. Then store it in a clean inner sleeve.
That is not flashy advice, but it is usually the sort of routine that builds trust in your own process over time.