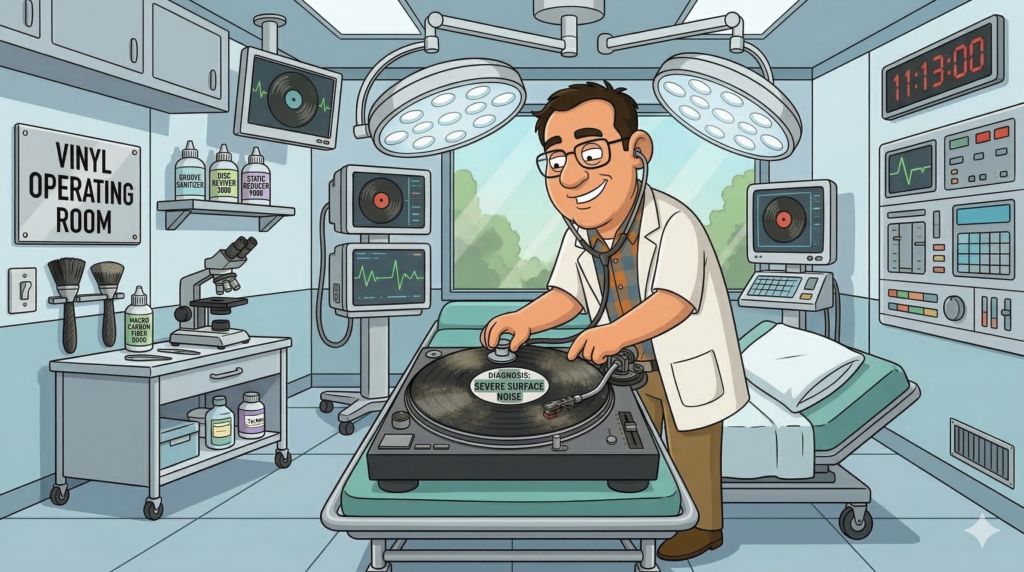
The Fourth Prescription: The Gentle Wet Clean
The beginner’s final at-home treatment (before the machines)
If you’ve followed the first three prescriptions, your collection is already in a healthier place than most: you handle records properly, you store them correctly, and you do the daily dry ritual before each play. For many records—especially new or well-kept ones—that’s enough to maintain clean playback. This guide covers wet cleaning vinyl records in a beginner-safe way, using a simple spray-on-cloth method and clean microfibre towels.
But sooner or later, every clinic gets the same kind of patient: a record that looks “fine” until you tilt it into the light and see fingerprints, a hazy film, or that stubborn grime that a carbon fibre brush simply can’t lift. This is where we move from daily hygiene to a gentle wet treatment—still safe for beginners, still achievable at home, and still aligned with the philosophy of “do no harm”.
This fourth prescription is the next step after daily dry hygiene: a gentle, beginner-safe wet clean you can perform at home with minimal tools. It’s designed to tackle fingerprints, light film, and stubborn surface contamination that a carbon fibre brush can’t remove—without pushing you into expensive equipment or complicated chemistry
When a carbon fibre brush isn’t enough
A carbon fibre brush is a surface tool. It excels at light dust and static control, and it’s perfect as a pre-play routine. What it does not do well is remove oils, smudges, and contamination that bonds to the groove walls—especially fingerprints and residue that has had time to settle.
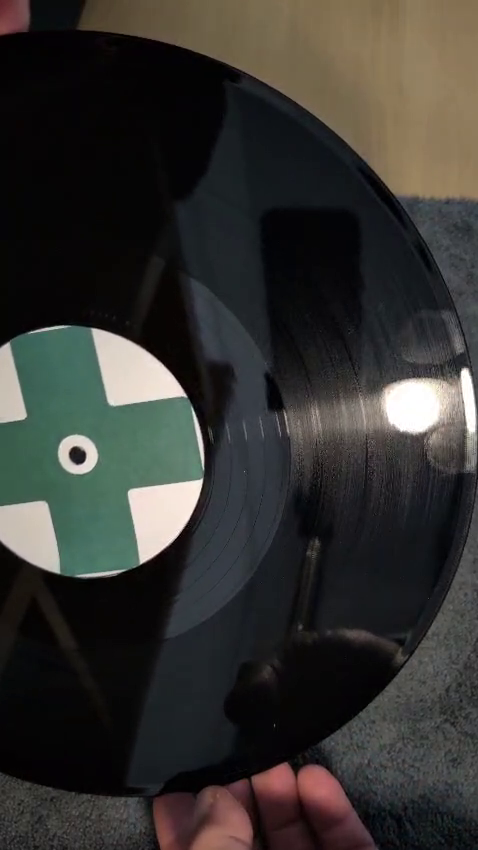
If you notice any of the following symptoms, your patient is asking for a wet clean rather than another round of dry brushing: audible crackle that persists on otherwise “clean-looking” records, fingerprints or cloudy patches visible under a lamp, second-hand records with unknown history, or that slightly sticky “drag” you sometimes feel when wiping a record with a dry cloth.
This prescription is not about scrubbing. It’s about controlled, minimal moisture, applied in a way that lifts contamination rather than spreading it.
The diagnosis behind “why wet” works
Most of the irritating noise that remains after a dry routine comes from contamination that is either oily or embedded. Dust alone can often be removed mechanically, but oils and films act like glue: they trap particles, they attract more grime, and they resist a dry pass. When you add the smallest appropriate amount of fluid to a clean microfibre cloth, you introduce two critical benefits: you loosen what is bonded, and you give the debris somewhere to go—into the fibres of the cloth—rather than deeper into the groove.
The key is control. In a beginner-friendly wet clean, the cloth is the instrument. The fluid is the assistant. The record is never flooded.
The prescribed procedure: the gentle wet clean
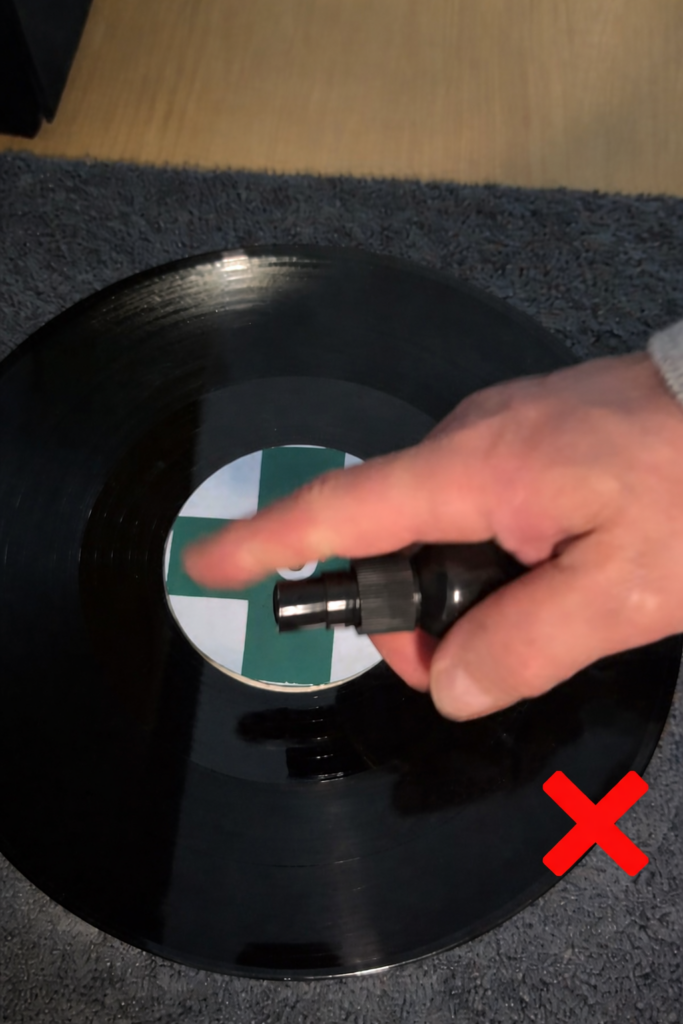
Set your workspace first. For wet cleaning vinyl records, control is everything: apply the fluid to the cloth, not the disc. You want clean hands, a stable surface, and enough light to see what you’re doing. Clinical safety note: cleaning on the platter (with rotation off) is possible, but for beginners the tonearm/stylus is an unnecessary hazard. I recommend performing the wet clean on a stable table, then returning the record to the deck only once it’s dry. Place the record on a clean microfibre towel on the table. The goal is stability without contact with dirty surfaces
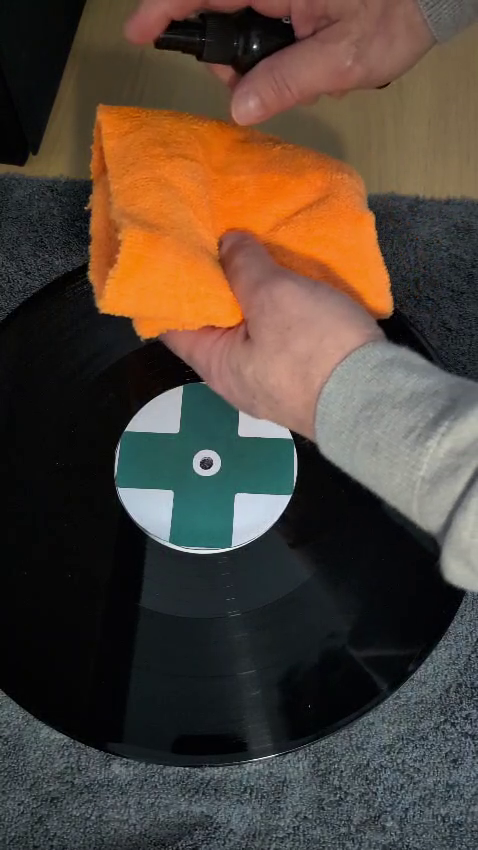
Begin with a dry pass using your carbon fibre brush. This removes loose surface dust and reduces the chance that you’ll drag particles across the grooves during the wet stage. Now prepare two cloths: one for the wet pass and one for drying. Microfibre is not optional here—cotton and paper-based materials can leave hairlines fine and fibres behind.
Here is the rule that protects beginners when wet cleaning vinyl records: do not spray the record. Spray the cloth. A very light mist on the cloth is enough. You are not soaking anything. The cloth should feel slightly damp, not wet.
With gentle contact, wipe along the groove direction. You’re not polishing a window; you’re guiding the cloth along the path the stylus will travel. Use slow, controlled movement, and treat the record as if it has a fragile surface—because it does. If you meet a stubborn patch, do not increase pressure. Instead, make a second pass with the same light touch. Pressure is how beginners turn “cleaning” into damage.
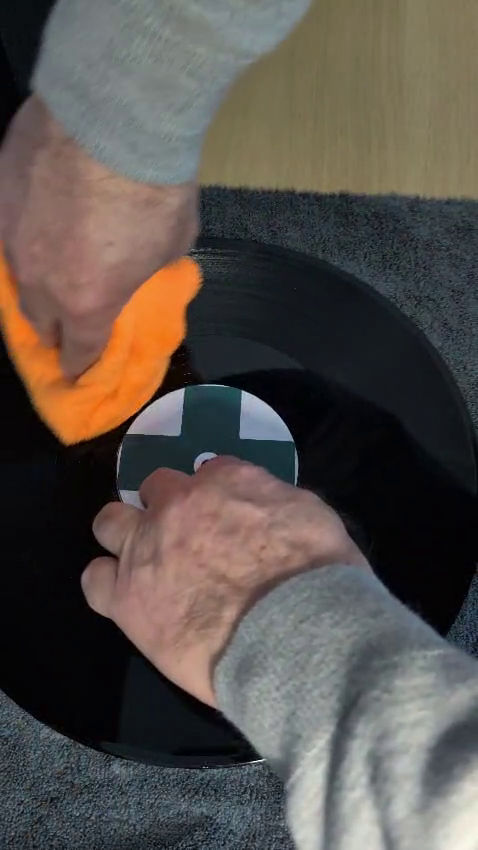
Once you’ve completed the wet pass, take the dry cloth and follow the same groove direction, lifting any remaining moisture and leaving the surface clean and consistent. Give the record a short rest—just long enough for any trace moisture to evaporate naturally—then proceed with your normal pre-play brush routine before playback.
This is a gentle intervention, not a deep restoration. But done correctly, it’s often the difference between “still noisy” and “healthy playback”.
Watch the full gentle wet-clean demo (real time): spray-on-cloth, light groove-direction passes, then a dry finish.
Contraindications: wet-cleaning myths that cause harm
The most common mistake beginners make is believing that more fluid equals more cleaning. It doesn’t. Too much liquid increases risk: it can reach the label, it can pool, and it can encourage residues that you then hear as smearing or dullness. The second mistake is using a cloth that isn’t truly clean. A cloth that has been used on other surfaces, or washed with fabric softener, can redeposit contamination. If you are unsure, treat the cloth as contaminated.
Another myth is that you must scrub. Scrubbing creates micro-abrasion risk and can push debris deeper into the groove. If you feel you “need” to scrub, you’ve reached the limit of this prescription and should escalate to a deeper cleaning method.
Finally, be careful with mystery wipes and pre-impregnated cleaning tissues. Some are fine, some leave residues, and beginners often can’t tell which is which until the record sounds worse. If a record sounds audibly dirtier after “cleaning”, the culprit is usually residue or redistribution—not the record itself suddenly becoming worse.
In the Vinyl Doctor’s clinic, a treatment that makes a patient feel worse is a sign that the instrument or the method is wrong.
The beginner wet-clean kit (under £20–£30)
You don’t need a laboratory. You need consistency. A beginner’s kit is simply two dedicated microfibre cloths, a small spray bottle, and a safe cleaning fluid. Keep the cloths dedicated to records only, and store them clean and dry. One cloth is your wet tool. One cloth is your dry tool. That separation alone prevents a huge number of mistakes.
If you want to keep things simple and avoid chemistry, use a reputable record-cleaning fluid as directed, but still follow the same principle: apply it to the cloth, not the record. The brand matters less than the method at this beginner level. The method is what protects the grooves.
The kit is small, cheap, and effective because it is disciplined. That discipline is what your collection will remember.
When to escalate: deep cleaning and machines
This prescription covers the most effective “light wet clean” a beginner can do safely at home. But some patients—especially second-hand records with unknown history, years of grime, or deeply embedded contamination—require deeper intervention. In the next consultation, we’ll look at the affordable deep-clean options (manual bath systems) and the advanced machines (vacuum and ultrasonic) that can take recovery to the next level.
At that stage, deeper cleaning approaches—vacuum record cleaning machines, ultrasonic cleaning, and more structured multi-step processes—can be appropriate. But they belong to the next level of the journey, ideally pursued once a beginner has mastered the fundamentals and can justify the investment.
If you can’t improve a noisy record with correct handling, correct storage, daily hygiene, and this gentle wet clean, the patient is asking for more than home treatment.
Discharge summary: the beginner’s complete treatment plan
Congratulations. If you try this gentle wet clean, tell me in the comments what changed. Did a fingerprinted record recover? Did the crackle calm down? And did you notice the difference between “more pressure” and “more patience”?
Further reading (authoritative sources): for UK collection-care guidance, see APAC’s notes on looking after personal collections. For cartridge and stylus basics, Ortofon’s official stylus care guidance is also worth a read.
Next consultation: deep cleaning for second-hand records—manual bath systems, vacuum machines, and ultrasonic treatment.
The Doctor is in.